In this tutorial you will learn how to physically connect your Raspberry Pi to a UART Bridge and additionally how to connect to your device and gather logs using PuTTY.
- Enable UART connection.
- Connect your SD card with emteria.OS to your PC and mount the boot partition.
- Open config.txt and add the following line:
enable_uart=1
- Open cmdline.txt and change:
console=serial2 to console=serial0 - Save the files, safely remove the SD card, and put it back into your Raspberry Pi.
- Connect your RPi to your UART Bridge.
Connect Pin 6 (GND), Pin 8 (GPIO 14 / TXD), and Pin 10 (GPIO 15 / RXD) to the Ground, RXD, TXD Pin of the Bridge, respectively.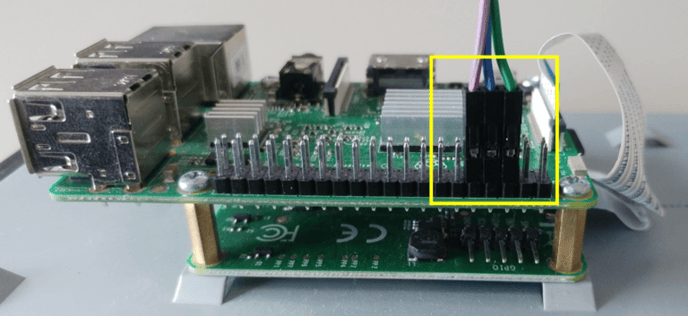
- This leads to:
Ground of the Bridge to Pin 6 (GND) of the RPi
RXD Pin of the Bridge to Pin 8 (GPIO 14 / TXD) of the RPi
TXD Pin of the Bridge to Pin 10 (GPIO 15 / RXD) of the RPi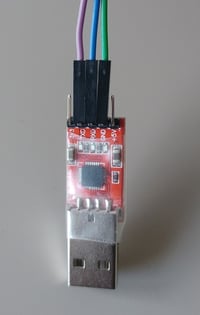
- This leads to:
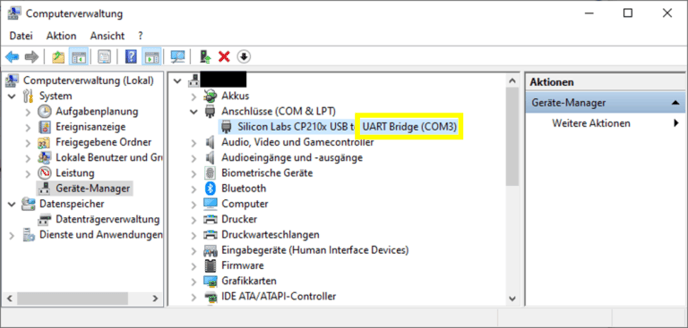
- Connect the UART Bridge with your computer and open computer management.
- Look for COM & LPT Ports. You will need the number of the COM port in a next step.
- Depending on your Windows version you might need to install the Virtual COM Port drivers of the UART Bridge manufacturer (for example).
- Download, install and open PuTTY.
- Configure serial connection.
-
Switch to the serial category. Enter the COM port that you determined from computer management.
-
Configure the serial line:
Speed (baud): 115200
Data bits: 8
Stop bits: 1
Parity: None
Flow control: None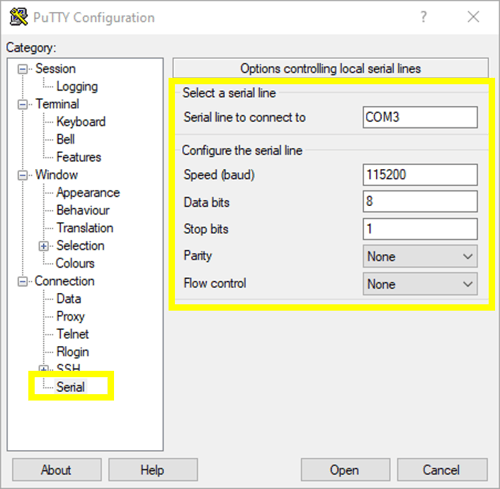
-
- Enable Logging.
Switch to the logging category. Select all session output and an appropriate file.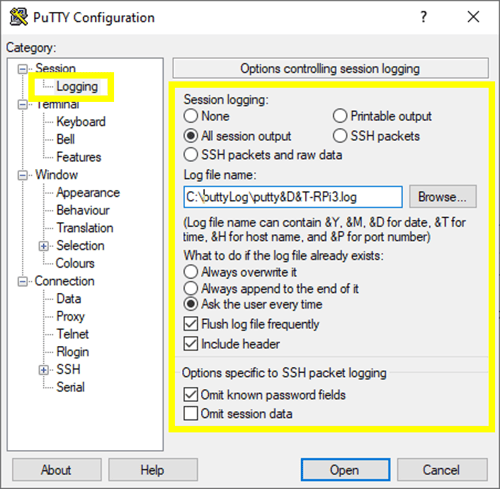
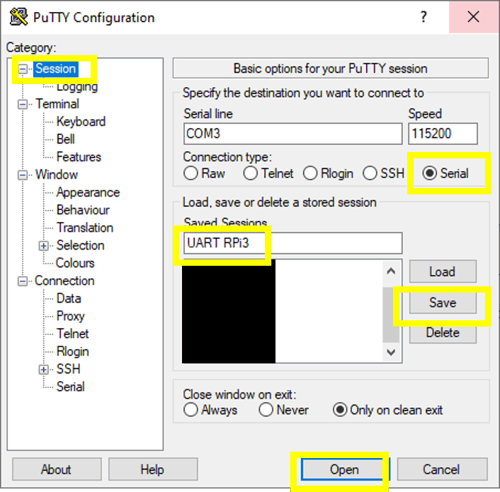
- Save session and connect.
- Switch to the session category.
- Select serial as a connection type.
- Enter a session name and click save.
It will appear in the list below. This is handy for the future. If you restart PuTTY you won’t have to reconfigure the serial connection and logging, but just load the appropriate session. - Click Open.
- The PuTTY terminal.
- After you click to Open a new window is opened.
- Power up your device and you should see the boot-up log.
If your device already booted up successfully and is idle you will just see a black window: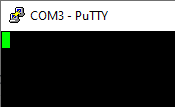
- Click into the window and press enter. The RPi Shell will appear.
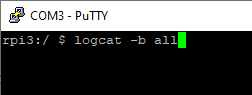
- Android log.
- Having the RPi Shell you can use logcat to get android logs.
- All output of the terminal should be saved in the file you have selected in the logging category of PuTTY.
- If the black window remains and you don’t get to the shell, start from step one and check once again.
- Having the RPi Shell you can use logcat to get android logs.