This tutorial will show you how to install emteria.OS on the Artista-IoT board.
 |
 |
Flash the Artista-IoT
- Download emteria.OS through the emteria installer.
Read our tutorial.
- Install the RPiBoot-Tool for your OS.
- Disconnect the Artista Board from the power supply.
- Connect a MiniUSB-cable with the plug/connector to the board.

- Connect the other side of the cable with the computer.
- Start the RPiBoot Tool.
A black window will state Waiting for BCM2835/6/7.
- Connect the power supply to the board.
After some time further information will appear in the window. Wait until this disappears.
Note: In between, more windows and even error messages might appear. Please ignore and close them.
- Your computer will detect one or more hard drives.
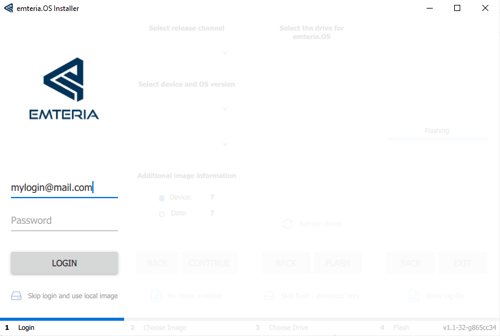
- Start the emteria.OS installer and log in.

- Choose Distec Artista-IoT – latest Version (Sept. 2019: v0.6.0).
- Set up the image on the new hard drive (should be 4 GB).
- Exit the installer, disconnect the Artista Board from the power supply and disconnect the USB-cable.
- Power up your device and enjoy emteria.OS.