This tutorial will show you how to access and adjust the configuration file config.txt on your Raspberry.
For more information see the official Raspberry Pi Documentation.
Note: If you need to adjust the cmdline.txt, you will also find it on the boot partition.
Overview of this article
SD cards
How to edit config.txt on Linux
How to edit config.txt on Windows
eMMC
Troubleshooting
SD cards
How to edit config.txt on Linux
- Take the SD card out of your device and insert it into your computer’s card reader.
- On Linux the SD card will be listed as two devices.
- Main Volume
- Boot
- Click on Boot.
- In here you will find the config.txt file. Open it with your preferred text editor to make changes to the file.
- When done, save and click on the Eject button to safely remove the SD card from your computer.
- Insert your SD card back into your device.
Note: Reboot your device to apply changes.
How to edit config.txt on Windows
- Take the SD card out of your device and insert it into your computer’s card reader.
- On Windows the SD card will be listed as two devices, but only Boot will be accessible.
- Click on Boot.
- In here you will find the config.txt file. Open it with your preferred text editor to make changes to the file.
- When done, save and click on the Eject button to safely remove the SD card from your computer.
- Insert your SD card back into your device.
Note: Reboot your device to apply changes.
Note: If the boot partition is not mounted by Windows, please see our Troubleshoot section below.
eMMC
If your board has an eMMC and not an SD card, follow the steps below to access and adjust the boot partition.
- Install RPIBoot and the required drivers on your PC.
Download the Windows installer. - Connect the board to your PC through the micro USB slave port.
For a more detailed explanation, see steps 1 till 7 of our Raspberry Pi Compute Module 4 IO Board tutorial. - Run the RPiboot.exe on your PC.
Installed in step 1 along with the drivers.
The eMMC should now appear in Windows as a USB stick. - Access the eMMC that now appears as a USB stick and click on Boot.
- In here you will find the config.txt file. Open it with your preferred text editor to make changes to the file.
- When done, save and click on the Eject button to safely remove the board from your computer.
Note: Reboot your device to apply changes.
Troubleshooting
Boot partition is not mounted by Windows
If this is the case, you will have to mount it yourself, follow the steps below:
- Take the SD card out of your device and insert it into your computer’s card reader.
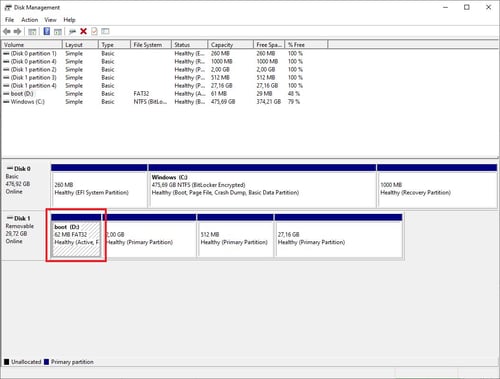
- Open Disk Management.
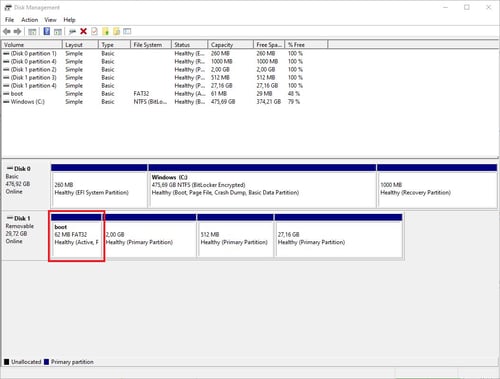
For example, by right-clicking on the Start button and then selecting Disk Management. - In Disk Management select and right-click the boot drive.
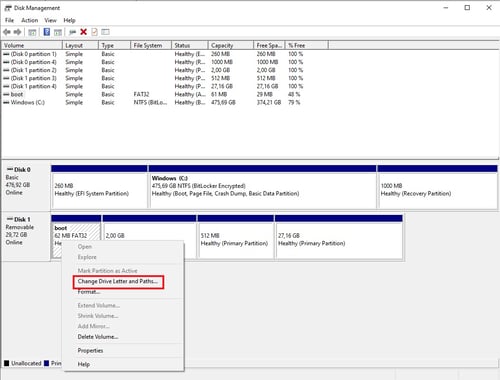
- Select Change Driver Letter and Paths.
- Click on Add to add the Letter.
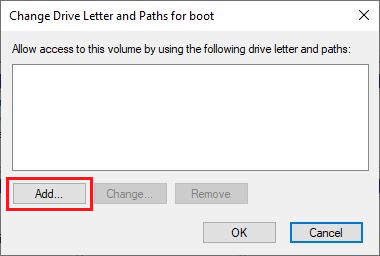
- Select the drive letter you want to assign to boot and click OK.
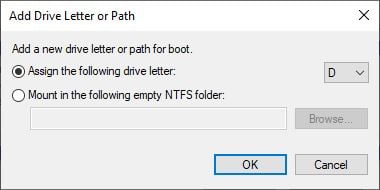
- Letter has been successfully assigned.