When flashing emteria.OS with our installer there are different userdata partition sizes available: 2 GiB, 4 GiB, and 8 GiB; which are useful for SD cards up to 16 GiB and most use-cases. The installer automatically chooses the largest possible size. In this tutorial, you will be guided through all steps needed to manually increase the userdata partition size for larger SD cards on Ubuntu.
Note: This is best performed right after a fresh installation of emteria.OS as all userdata will be lost during this process!
- Use our installer to flash emteria.OS on your SD card.
- Reconnect the SD card to your computer.
- Find out device path.
Check the device path using disks.
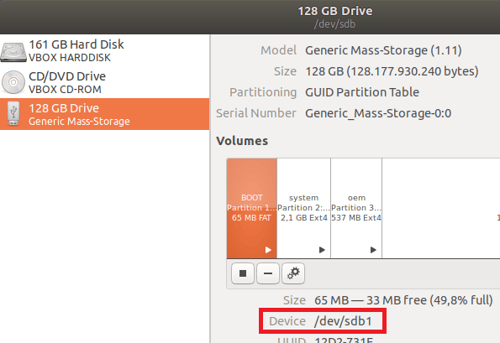
- Your device can be listed as /dev/sdc or /dev/sdd or something else followed by a number, depending on the number of connected storage devices.
Note: Adjust the following commands accordingly! - Validate right device.
Check if you have the right device path with:
fdisk /dev/sdb
p
It should have 4 partitions for emteria.OS based on Android 7
- Delete userdata partition.
After you have confirmed that you selected the correct device, delete the existing userdata partition. All data on the userdata partition will be lost!
d
4
w - Create new userdata partition.
Now you have to create a new userdata partition that takes the remaining space on the SD card, or adjust as wanted.
fdisk /dev/sdb
n
default is fine, press enter three times
w
- Create filesystem and label.
Finally, you have to format and label the userdata partition:mkfs.ext4 -L userdata /dev/sdb4
This step might take a little longer, depending on the size of the SD card and thus the resulting partition size, and on the speed of the SD card.