Article overview:
How to enable automatic updates for your device
How to set a preferred time interval (time and days) for updates
How to schedule automatic updates
Read our tutorial on how to enable and configure updates on your device.
How to enable automatic updates for your device:
- Log in to your Device Hub.
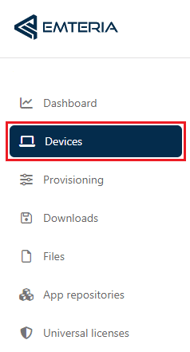
- Use the sidebar to navigate to Devices.
- In the Devices overview select a specific device or a device group.
- Navigate to the Commands tab. Now you're in the main MDM page of your device or device group.

- Click on the plus symbol (+) to open the Command dialog.
- Now the New Command window opens.
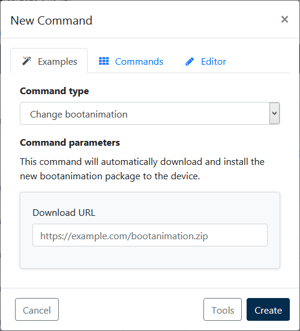
- In the Examples tab or the Commands tab select Start automatic OS update.
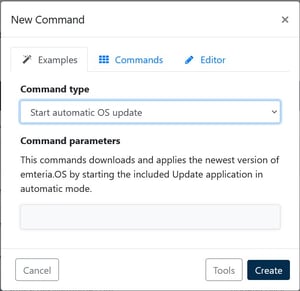
- Click Create.
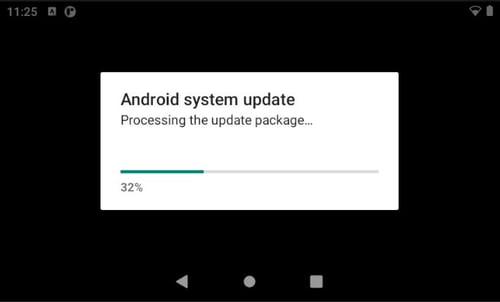
- On your device, the OTA package is now being downloaded.
The download is roughly 800MB.
Note: During the download an installation process your device will not be available.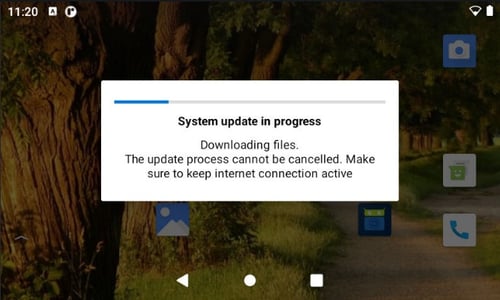
- The update package is being processed and made ready for installation.
- Once the download and installation is ready your device will reboot automatically to apply the update. This will take 10-15 minutes.
Best practice: If you have many devices within a group, do not send update commands to the whole group. Use the staging group to send updates to individual devices, see how these devices behave after the update before applying the update to the whole group.
How to set a preferred time interval (time and days) for updates:
- Log into your Device Hub.
- Use the sidebar to navigate to Devices.
- In the Devices overview select a specific device or a device group.
- Navigate to the Commands tab. Now you're in the main MDM page of your device or device group.
- Click on the plus symbol (+) to open the Command dialog.
- Now the New Command window opens.
- In the Editor tab click on JSON.
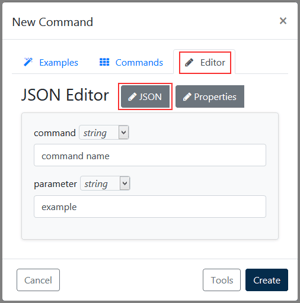
- Fill in the following values:
{allowed_days - allows you to set the days on which updates can take place.
"command": "processSubcommands",
"success": "all",
"subcommands": [
{
"command": "changePreference",
"package": "com.emteria.update",
"category": "com.emteria.update_preferences",
"key": "allowed_days",
"type": "set",
"value": [6, 7]
},
{
"command": "changePreference",
"package": "com.emteria.update",
"category": "com.emteria.update_preferences",
"key": "allowed_time_start",
"type": "string",
"value": "21:25"
},
{
"command": "changePreference",
"package": "com.emteria.update",
"category": "com.emteria.update_preferences",
"key": "allowed_time_end",
"type": "string",
"value": "04:05"
}
]
}
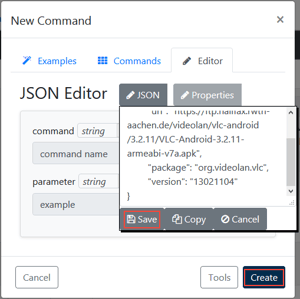
allowed_time_start and allowed_time_end - allows you the set the time interval when updates can take place. - Click Save and Create.
- Reboot your device to implement the changes.
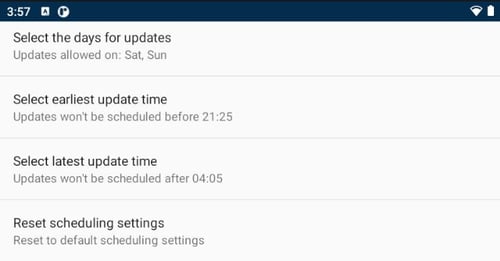
- On your device, you can find the settings in Emteria Settings > System options > Update settings > Schedule updates
Note: The changes will be implemented after a device reboot.
How to schedule automatic updates:
- Log into your Device Hub.
- Use the sidebar to navigate to Devices.
- In the Devices overview select a specific device or a device group.
- Navigate to the Commands tab. Now you're in the main MDM page of your device or device group.

- Click on the plus symbol (+) to open the Command dialog.
- Now the New Command window opens.
- In the Editor tab click on JSON.
- Fill in the following values:
{scheduled_version - is the version that should be scheduled to be installed. Keep in min that the version needs to be valid for your device.
"command": "processSubcommands",
"success": "all",
"subcommands": [
{
"command": "changePreference",
"package": "com.emteria.update",
"category": "com.emteria.update_preferences",
"key": "scheduled_version",
"type": "string",
"value": "11.7.0"
},
{
"command": "changePreference",
"package": "com.emteria.update",
"category": "com.emteria.update_preferences",
"key": "scheduled_timestamp",
"type": "long",
"value": "1654007686"
}
]
}
scheduled_timestamp - is the timestamp after which the update should be scheduled. For example, it can be 0 for default scheduling. The format that should be used is unix timestamp epoch in milliseconds. - Click Save and Create.
Note: The changes will be implemented after a device reboot.