![White horizontal logo 1024x250.png]](https://emteria.com/hs-fs/hubfs/logos_emteria/White%20horizontal%20logo%201024x250.png?height=40&name=White%20horizontal%20logo%201024x250.png)
- Don’t power up yet.
- Download and install the required drivers on your PC (if not already done).
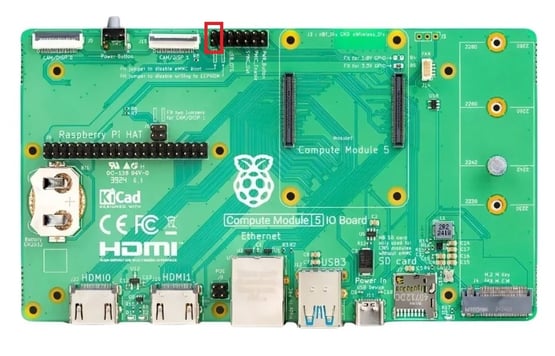
- Set jumper to prevent boot from emmc.
Use jumper J2 by setting it to the disable eMMC boot position to prevent the IO board from booting.
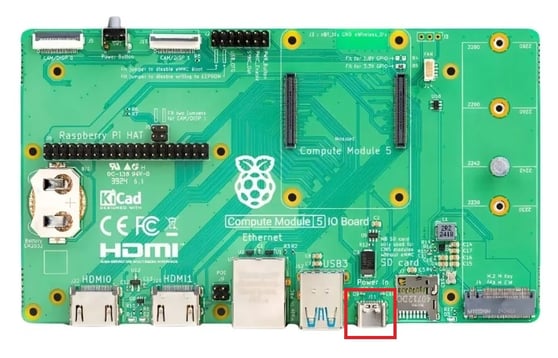
- Connect the IO board to your PC through the USB-C slave port.
Plug-in the USB-C cable into the USB slave port marked as J11.
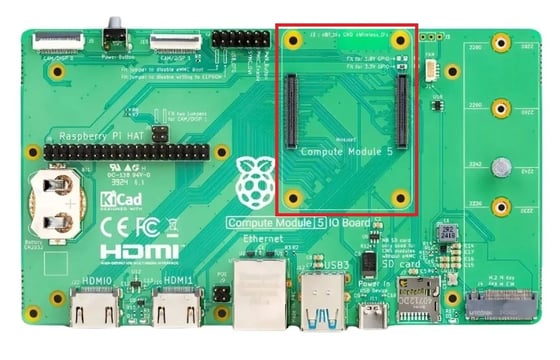
- Plug-in the Compute Module 5 (if not already done).
Add the Compute Module in the provided slot.
- Run the rpiboot-CM4-CM5 on your PC, which was installed by RPiboot.exe in step 2.
The eMMC should now appear in Windows like a USB stick. - Open installed Raspberry Pi Imager and navigate to image for cm5io built by Emteria.
Choose OS: Freemium and paid-for OS > Android by Emteria > CM5.
Choose storage: choose storage that appeared in previous step. - Flash the image.
- Unplug USB-C and remove the jumper set in step 3.
- Power up the IO board using USB slave port marked as J11.
Troubleshooting
Running the official Raspberry Pi Touchscreen or Camera
- Connect touchscreen or camera to CAM/DISP 0 or CAM/DISP 1.
- Open config.txt and uncomment correct overlay, depending on the connected port.
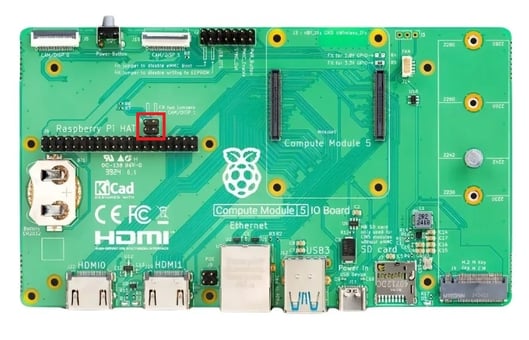
- If you connected touchscreen or camera to port CAM/DISP 1, add two jumpers to J6 as written on the board.
Note: Compute Module 5 is needed with at least 2GB RAM (4GB recommended)
Read our tutorial on how to access and edit the config.txt file.
Your Compute Module 5 doesn't boot up? Checkout this article.