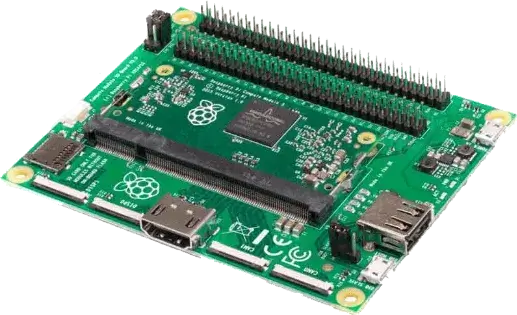
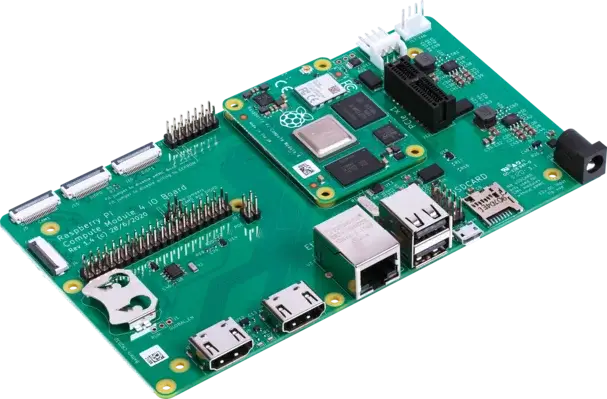
.png?width=800&name=RPI%20Series(5).png)
Install Android 15 on your Raspberry Pi 5
The Android operating system is now available for download in the official Raspberry Pi Imager for Raspberry Pi 5 devices!
The Imager is a great way to ...
- Get your Raspberry Pi ready to be used quickly.
- Download and install OS images officially listed by Raspberry Pi.
- Easily flash operating systems to microSD cards.
Discover Android on Raspberry Pi
The combination of emteria and Raspberry Pi brings a set of cutting-edge features, designed to provide a seamless Android experience to your Raspberry Pi:
- Easy customization options for Android
- Integrated Kiosk mode and app autostart
- Regular security patches and feature updates
- Reliable infrastructure for Over-the-Air OS updates
- Built-in SSH, VNC and MDM capabilities
- Free Starter plan for your devices
ANDROID CORE
The core of this ROM is Android Open Source Project (AOSP), extended by emteria. All benefits of Android OS like its native user-friendliness and cost-effective app development are part of it.
KIOSK MODE
In Kiosk lockdown mode, you can restrict user access to the device. Control what your users can see and use. Kiosk mode can limit the use of certain apps or allow for predefined websites only.
REMOTE SCREEN MIRRORING
A built-in VNC server allows mirroring the screen of your Raspberry Pi and controlling it remotely from any location. Use emteria's in-browser client or any other VNC client to connect to your device.
ROOT ACCESS
The emteria Superuser shell enables controlled root access to the Android core from your application. This allows Android users to attain privileged control of a device while preserving device security.
OTA UPDATE DELIVERY
Over-the-air rollout of OS updates is the fastest and easiest way to keep your Raspberry Pi secure and up-to-date. Emteria provides regular functionality and security updates for all supported devices.
LONG-TERM SUPPORT
Our experts offer extended customization and product lifecycle management policies, where stable releases of Android can be maintained for a longer period of time than other Android distributions.
-
Download Raspberry Pi Imager
1. Download and install Raspberry Pi Imager
Visit the Raspberry Pi website and navigate to the Install Raspberry Pi OS using Raspberry Pi Imager section. Download the right version for your OS (Ubuntu for x86, Windows, macOS). Follow the instructions to complete the Imager installation.
2. Insert SD card and launch RPi Imager
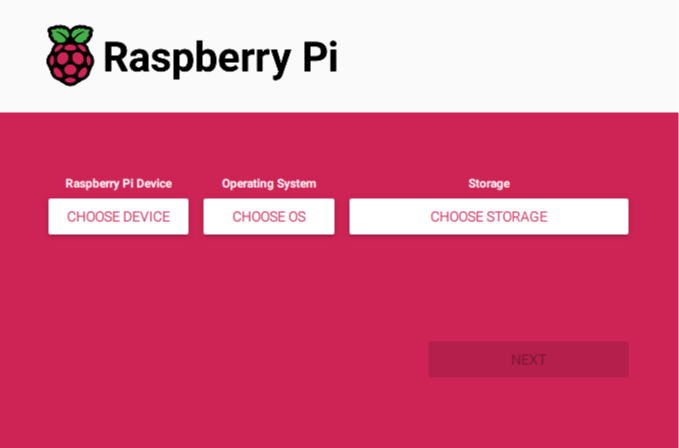
Take your SD card (at least 32GB) and insert it into your PCs SD card slot or card reader. Open the Raspberry Pi Imager. If prompted, grant any necessary permissions for the application to run.
Please use a SD card! The OS can not boot from a USB stick.
3. Choose Raspberry Pi device
Select Raspberry Pi 5.
4. Choose operating system
In the Raspberry Pi Imager, you will see a list of operating systems. Opt for the Freemium and paid-for OS section. There are no hidden costs for our Free plan.
No credit card is required!
-

Select Raspberry Pi 5.
-
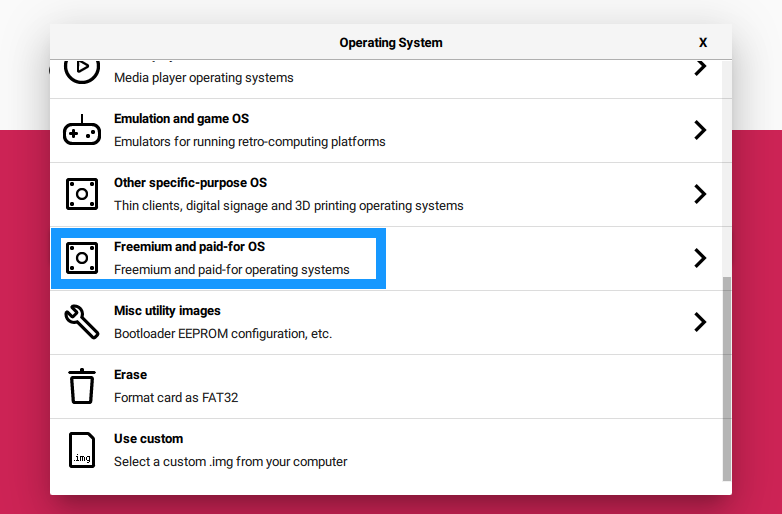
Opt for Freemium and paid-for OS.
-
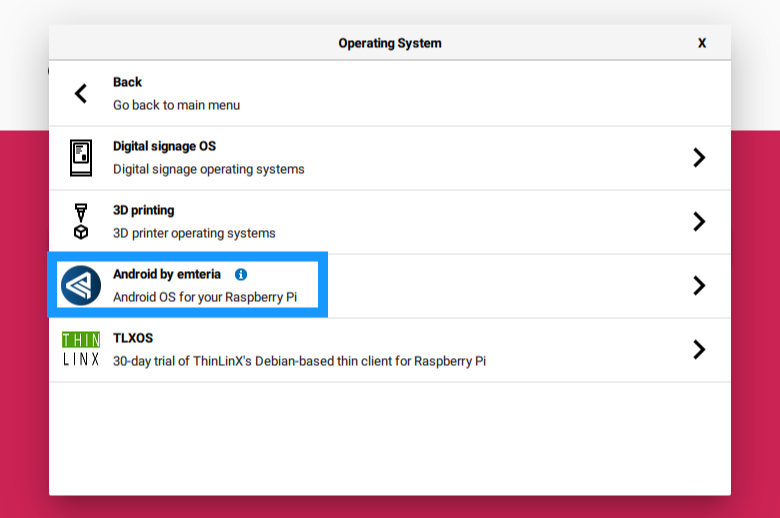
Pick Android by emteria.
-

Select Android 15 (RPi5).
5. Select Android for Raspberry Pi 5
Choose Android by emteria and select Android 15 (RPi 5).
6. Choose SD card and write image
Click on Choose SD Card and select your SD card. Now, click on Write. A dialog box will appear, double-check that you have selected the correct SD card and Confirm.
7. Wait for write process and verification
The emteria Android OS image will be written to the SD card and automatically verified to ensure the image matches the original. This takes a few minutes. Be patient and do not interrupt the process.
8. Insert SD card into Raspberry Pi
Once the success message is displayed, you can safely eject the SD card. Make sure your Pi is powered off before inserting your SD card. Connect your peripherals.
9. Power on your Raspberry Pi
Finally, power on your Raspberry Pi. It will boot from the SD card with the newly installed emteria Android OS in place.
-
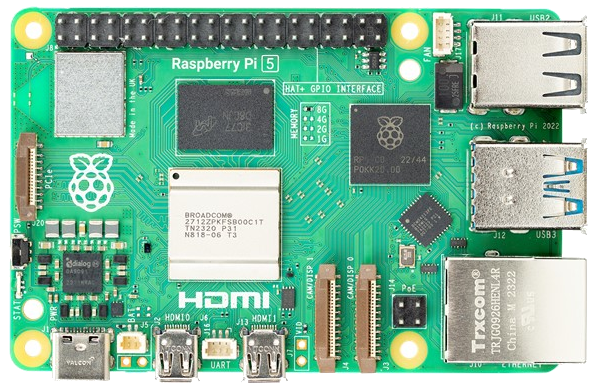
Insert SD card and power on
-
.png?width=2048&height=1536&name=MicrosoftTeams-image%20(19).png)
Set-up device and activate
10. Device set-up and activation
During the initial device set-up the system prompts you to activate your device to get access to the full set of emteria enhanced settings and features for Android.
This step is optional. Please keep in mind that without registration, features like device management and OTA updates are not available.
Use your PC: Visit the emteria website and create an emteria Device Hub account. Redeem your free Starter plan including three Pis.
No credit card is required!
How to register for a new account
How to get a free subscription
Back on your Pi: Choose Continue with emteria account to activate your Pi. Provide the credentials you just used to sign-up and login to your emteria Device Hub account.
Congrats! You have successfully used Raspberry Pi Imager to install emteria’s Android image on your Raspberry Pi.
Expand your Pi with peripherals
Android on Raspberry Pi supports a range of common peripherals, including different touchscreen displays, cameras, GPS receivers and GPIO Hats. Many of standard USB devices and default RPi overlays will work out-of-the box. Feel free to try out new peripherals with your Android-powered Raspberry Pi to run your projects and let us know how it works!
Information on Raspberry Pi 5 will follow soon.
Community support and documentation
Knowledge base
Keep up to date with the latest documentation and tutorials in the Knowledge base.
Discussion forum
Join our Discussion forum to get help by the emteria community. Post your questions, thoughts and ideas.
Release notes
Follow the latest emteria releases to keep on track of all the available images for your supported devices.
Frequently asked questions
How do I install my own Android apps to my Raspberry Pi?
Applications can be installed in the same way as on standard Android devices. There are three options: ADB, Download and running a private app store with F-Droid.
Can I use Android apps designed for smartphones and tablets on Raspberry Pi?
Can I use Google Play Store and Google Play Services, on Raspberry Pi?
Can I access and utilize the GPIO pins and other hardware features of Raspberry Pi while running Android?
Accessing GPIO is possible just the same way you would do it in Linux (via sysfs). For further information refer to:
Which peripherals can I connect to my Android-powered Raspberry Pi?
Emteria supports RPi displays, the new Camera Module 3 and more peripherals of your choice. Find a full list here:
- Raspberry Pi 4B
- List for Raspberry Pi 5 coming soon.
Which versions of Android are compatible with my Raspberry Pi?
We support:
- Android 15 for RPi 5
- Android 14 for RPi 5, RPi 4B, RPi CM4 and RPi 400 PC
- Android 13 for RPi 4B, RPi CM4 and RPi 400 PC
- Android 11 for RPi 4B, RPi CM4 and RPi 400 PC
- Android 7 for RPi 3B/B+ and RPi CM3
We currently support Raspberry Pi 4B and 5 in the Raspberry Pi Imager. The other Android images are available in our own Installer.
Are there any known issues when running Android on Raspberry Pi 5 or 4B?
There are a few known issues for:
- Raspberry Pi 4B
- List for Raspberry Pi 5 coming soon.
If you have technical issues, please report them via our Discussion forum. We constantly strive to improve our Android images.
Where can I get help if I run into problems during the installation or usage of Android on Raspberry Pi?
To avoid potential issues, we strive to provide detailed documentation in our Knowledge base. If you encounter any unexpected problems, please refer to our Discussion forum for help.
Which kind of additional support can I get?
Do I have to pay to use Android on Raspberry Pi?
How do I get a Free plan?
If you registered for emteria Device Hub, confirmed your email address and finished the registration, you have received a voucher code to unlock your Free plan: redeeming your personal code
Build unique products, boost device performance
Already have hardware?
Start for free